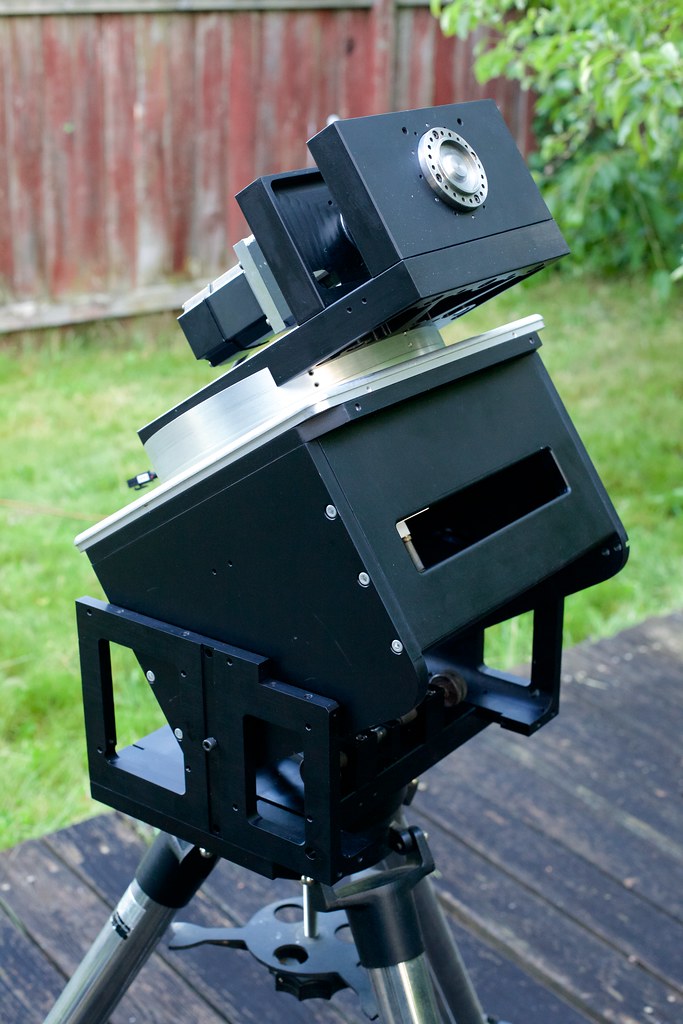
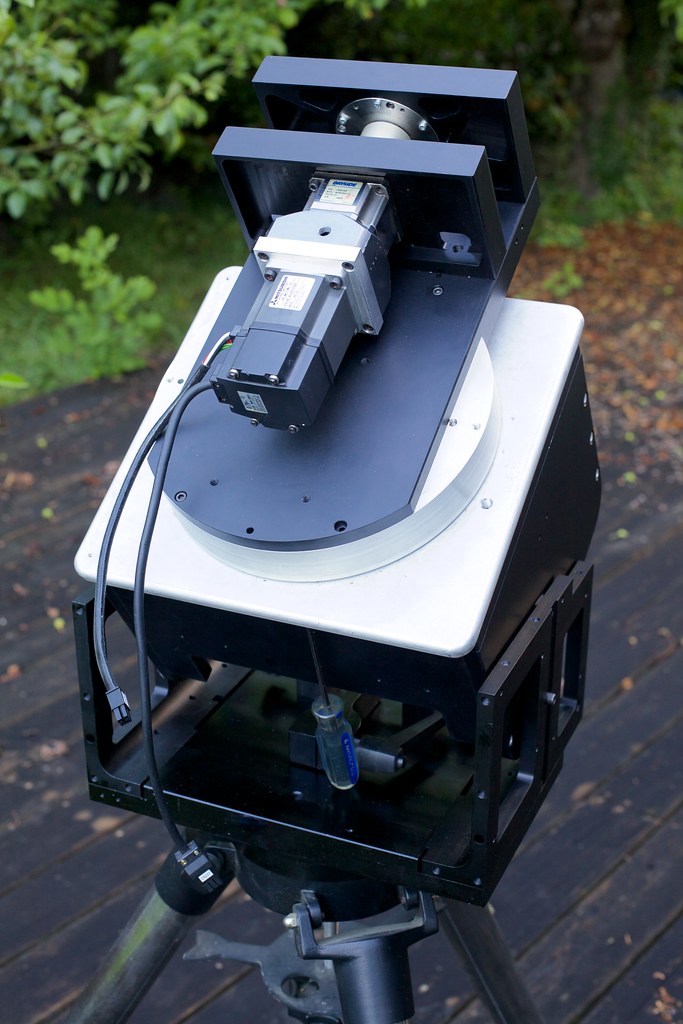
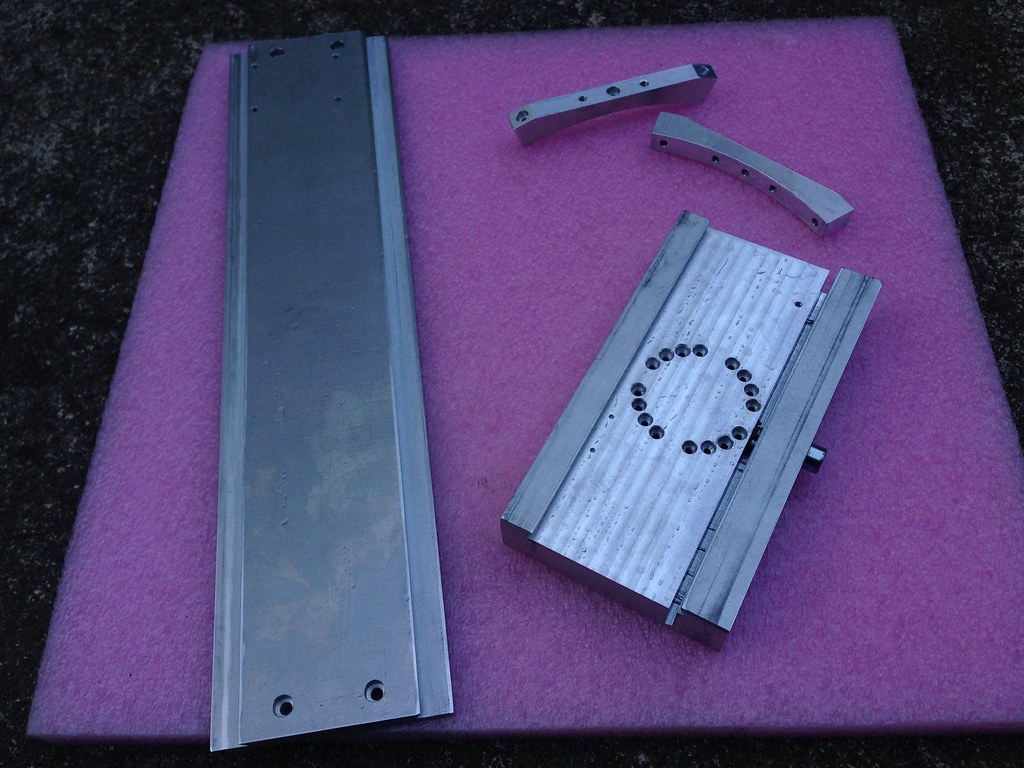
I got my parts back from anodizing today and assembled what I have so far.
I think I have created a monster.
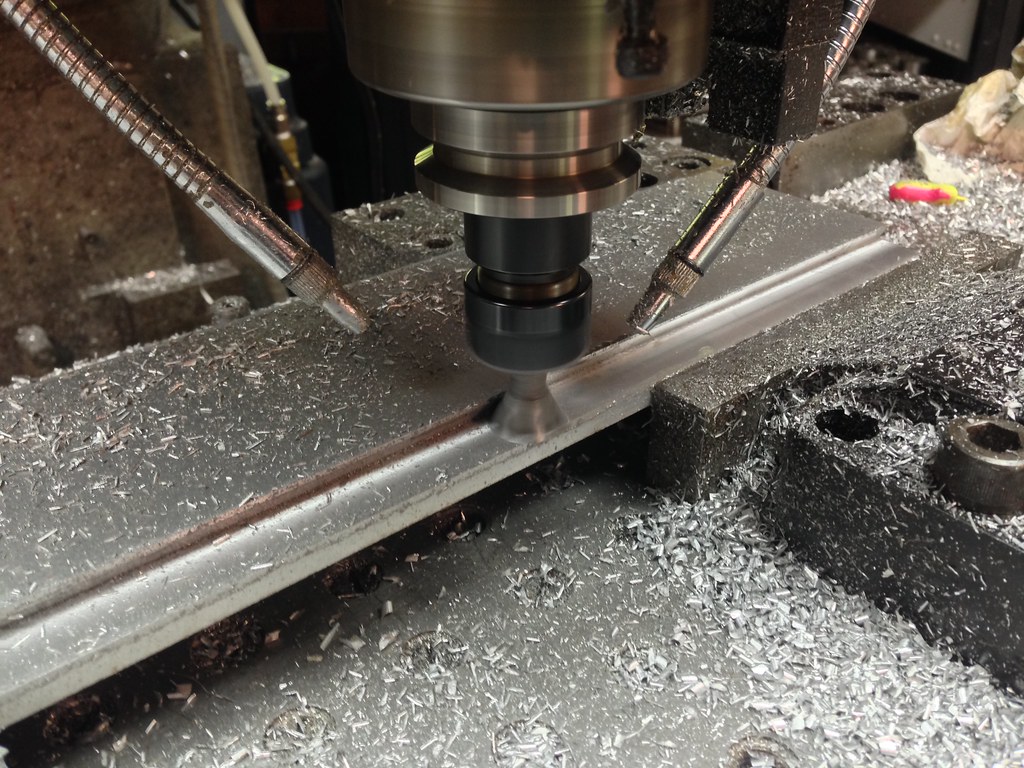
I inserted the bearing cup into the base, a bit of a tight fit but it pressed into place and trimmed the spud to it's final length. I lubed up the two bearings with Krytox 240AC, a nonreactive teflon based grease, and put the base together. I glued the spud into the post mount with some Hysol 1C epoxy. Hopefully that will keep it from turning. I may have to pin it in place.
Everything went together pretty well, one spot I ran into interference between the bottom plate of the main harmonic drive mount and the Az fine adjust bar, it will only get in the way at low altitude settings which will never happen so I am not too worried right now.
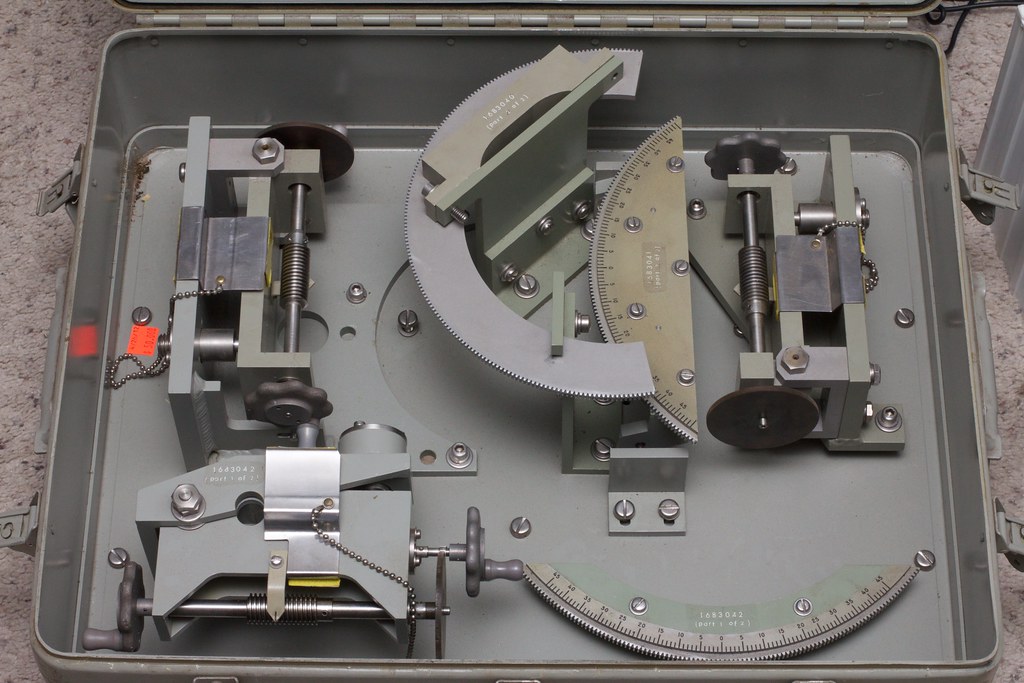
Next up, figure out the angle lock and fine adjustment. I have a section of worm gearing that might work nice. I also need to make the dovetail saddle and buy the dovetail kit for my telescope, that will attach the scope to the mount. Then I need to get working on the control.
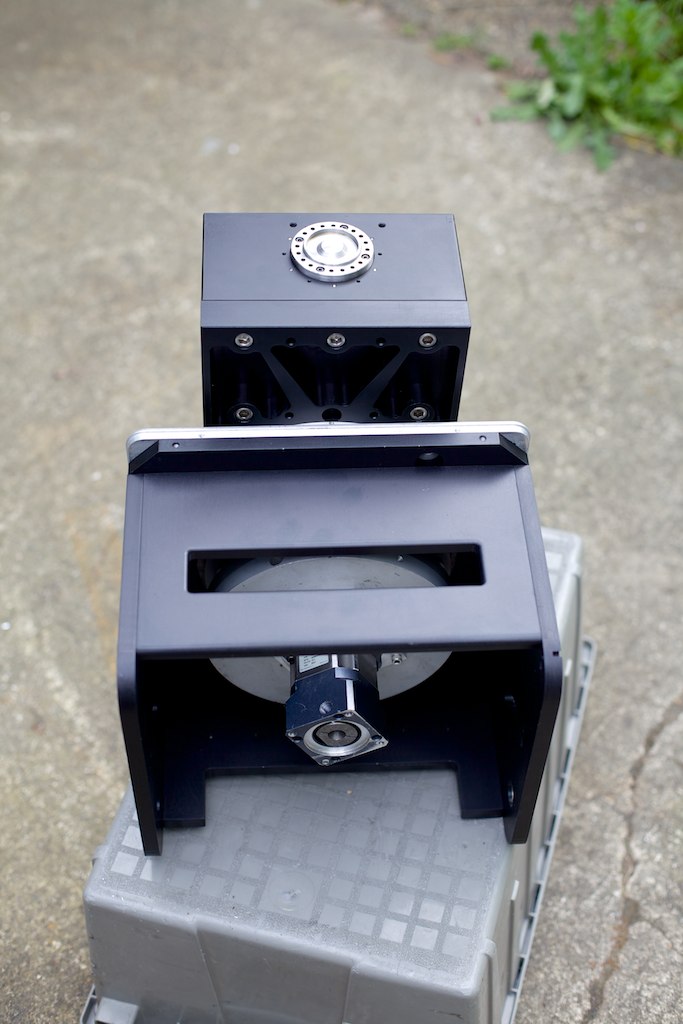
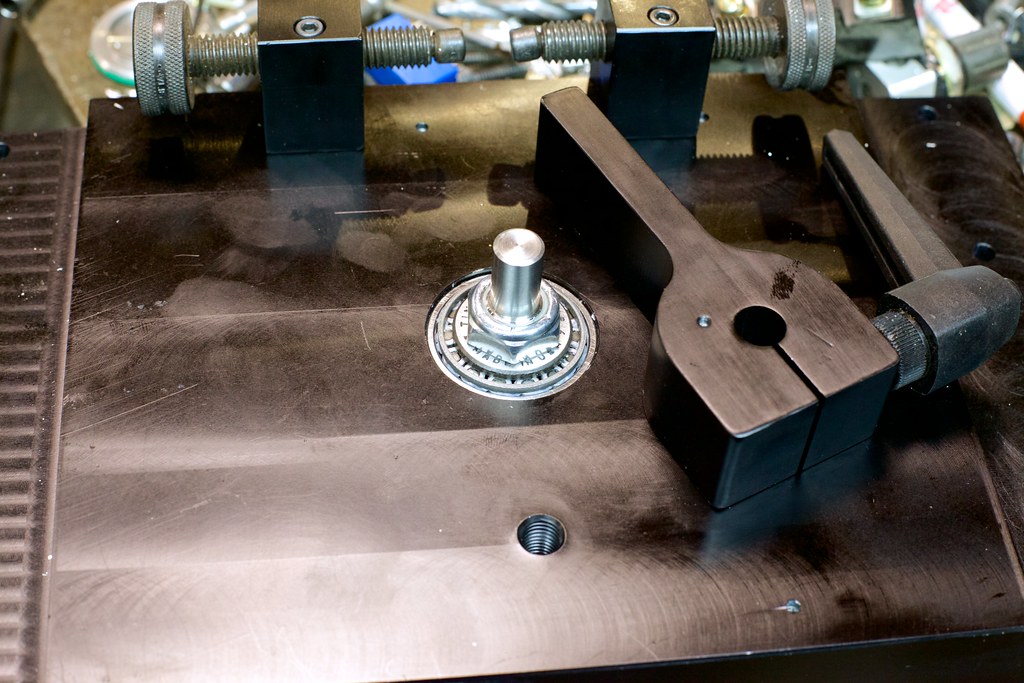
The taper bearing in place and lock nut:
 IMG_8769
 by
macona, on Flickr
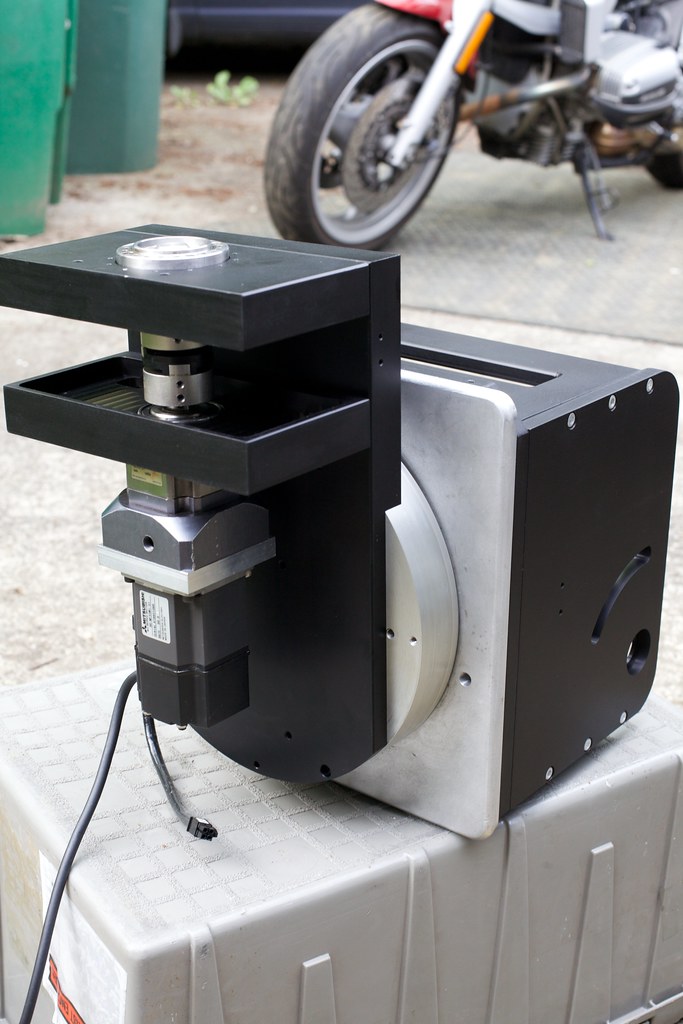
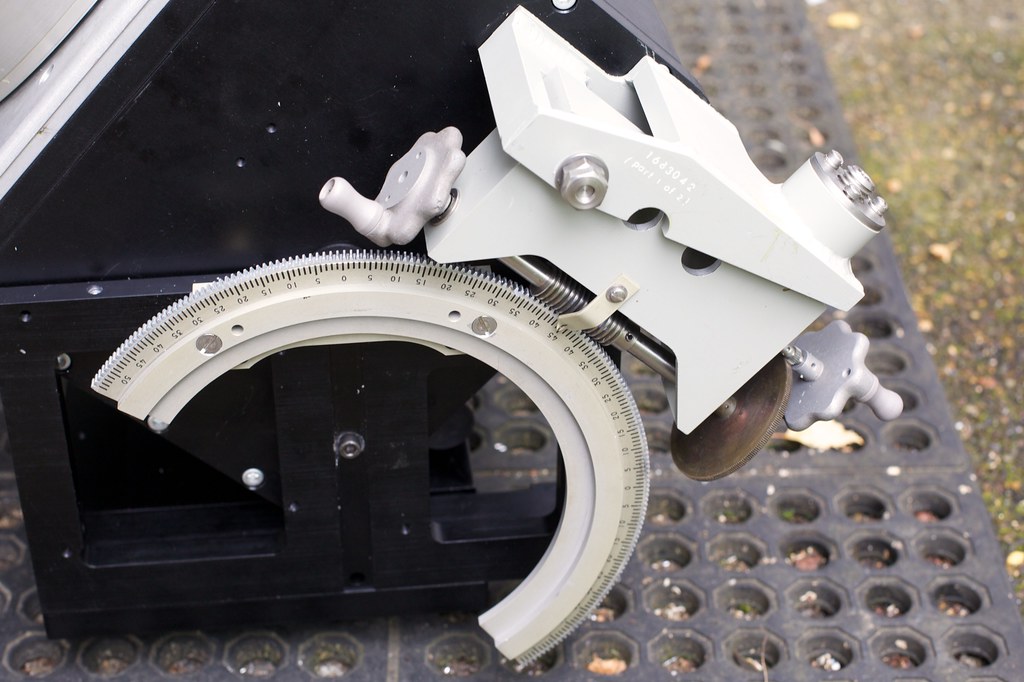
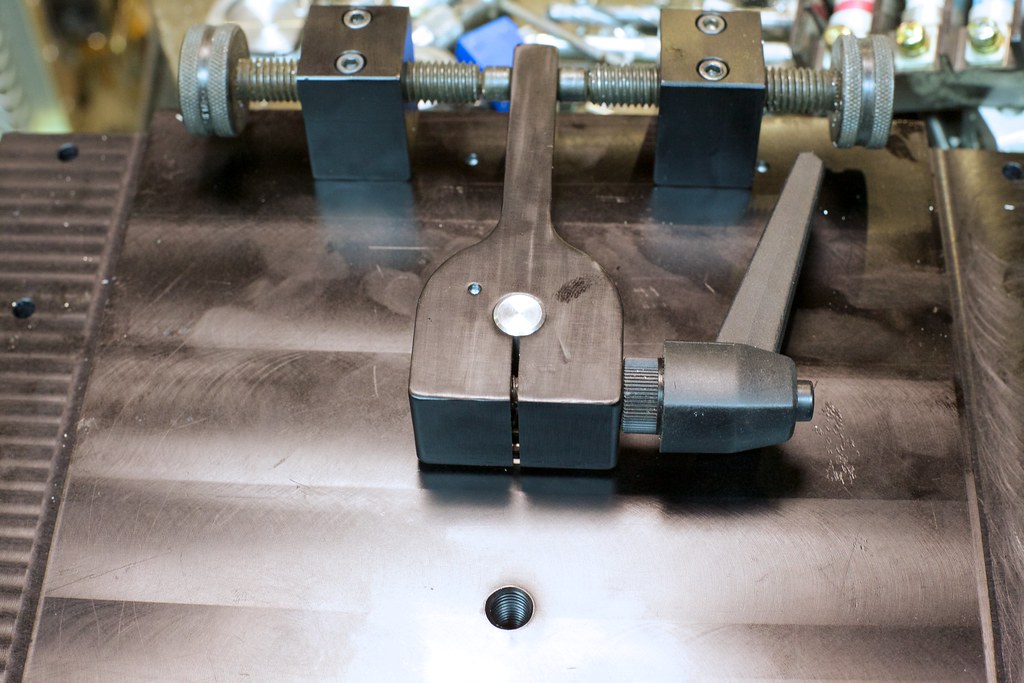
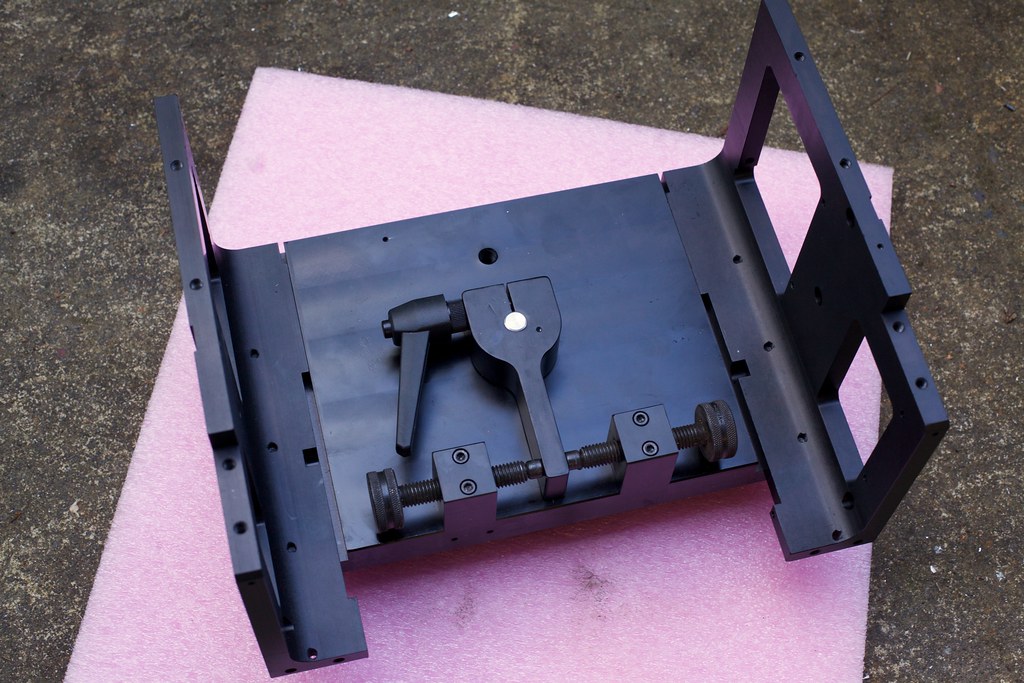
The fine adjuster in place:
 IMG_8770
 by
macona, on Flickr
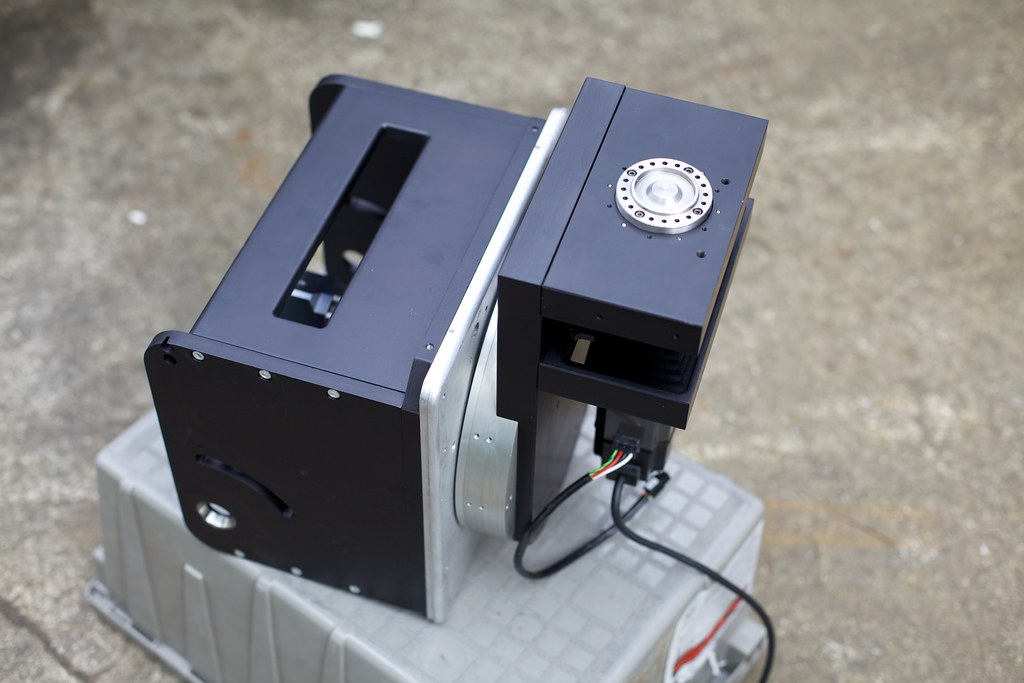
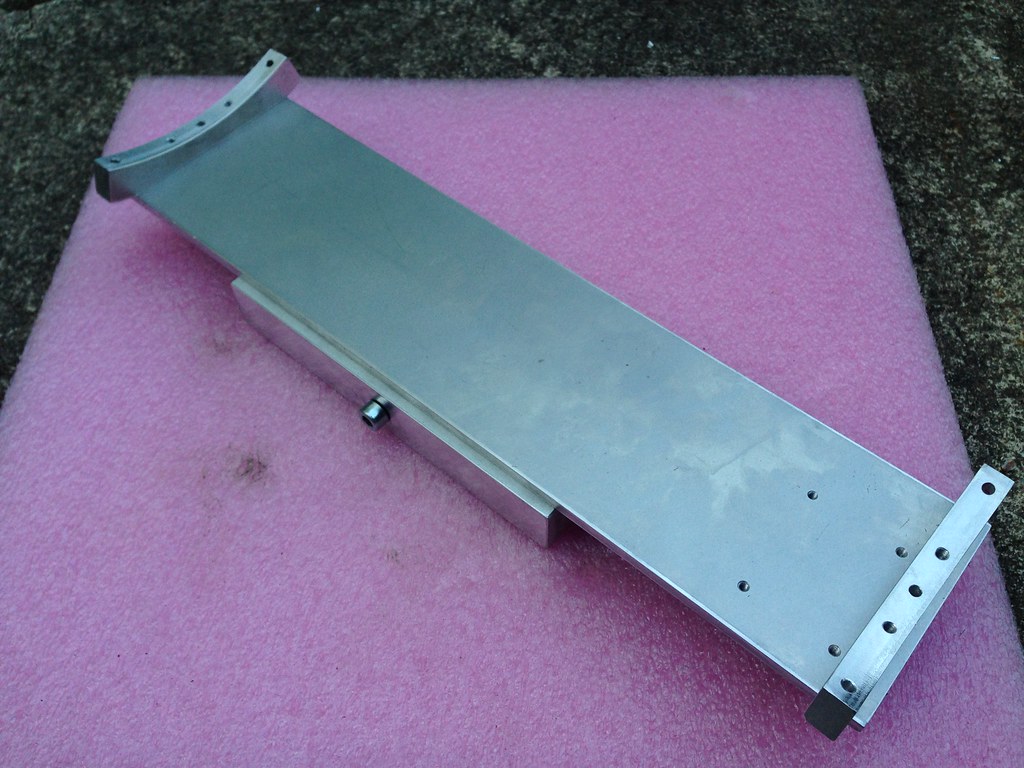
Side plates on:
 IMG_8771
 by
macona, on Flickr
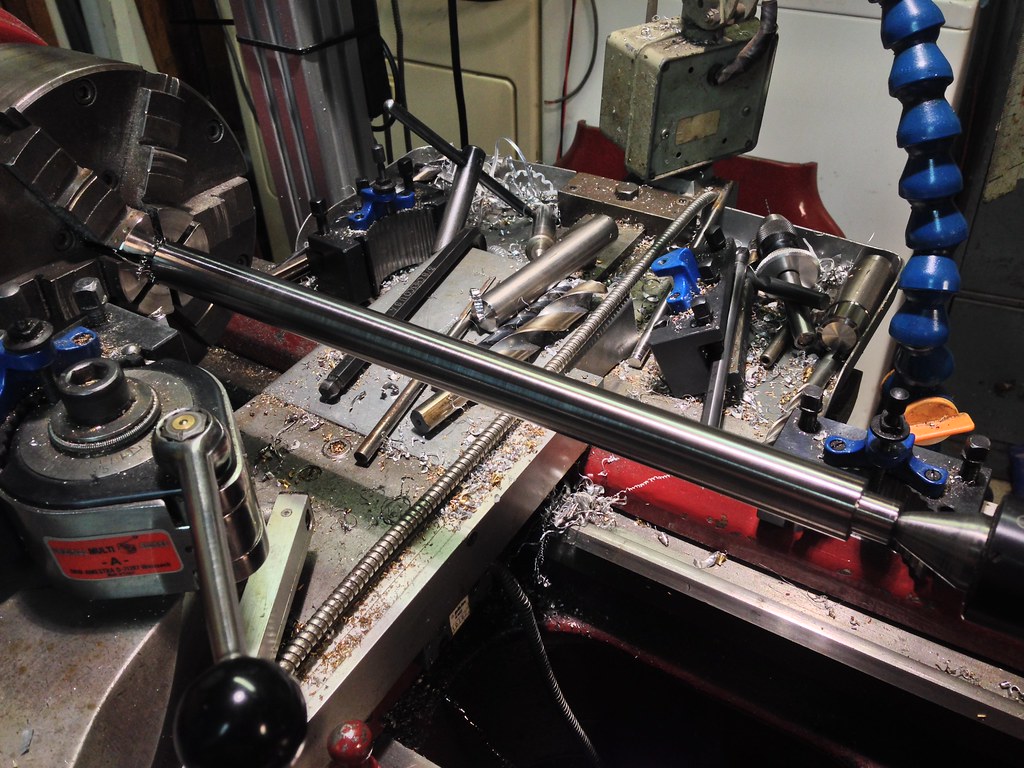
A view of the base:
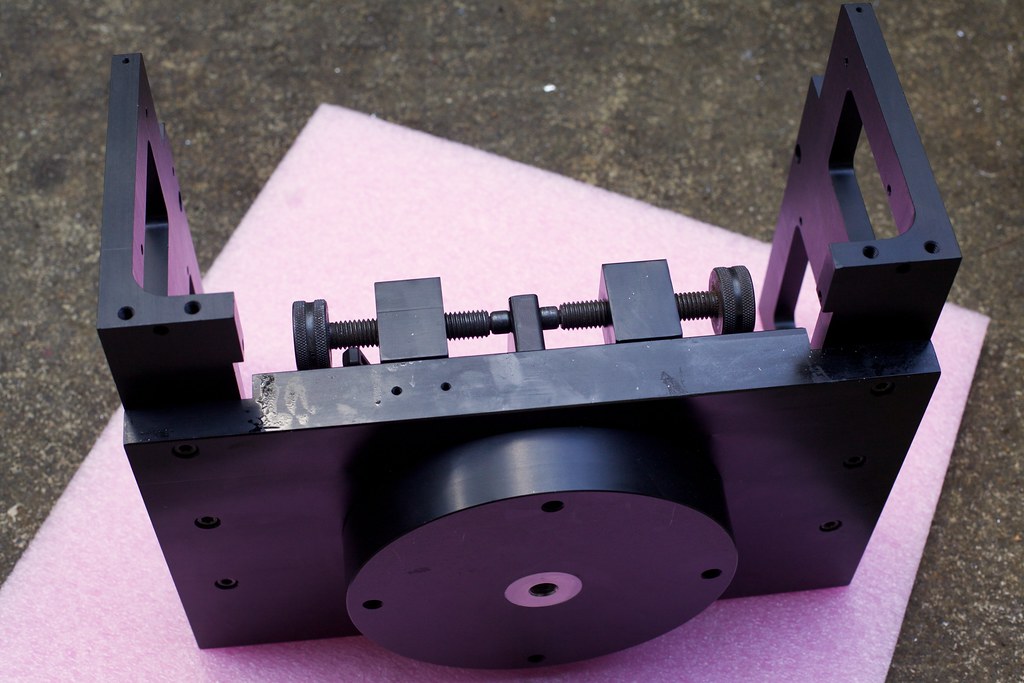 IMG_8772
 by
macona, on Flickr
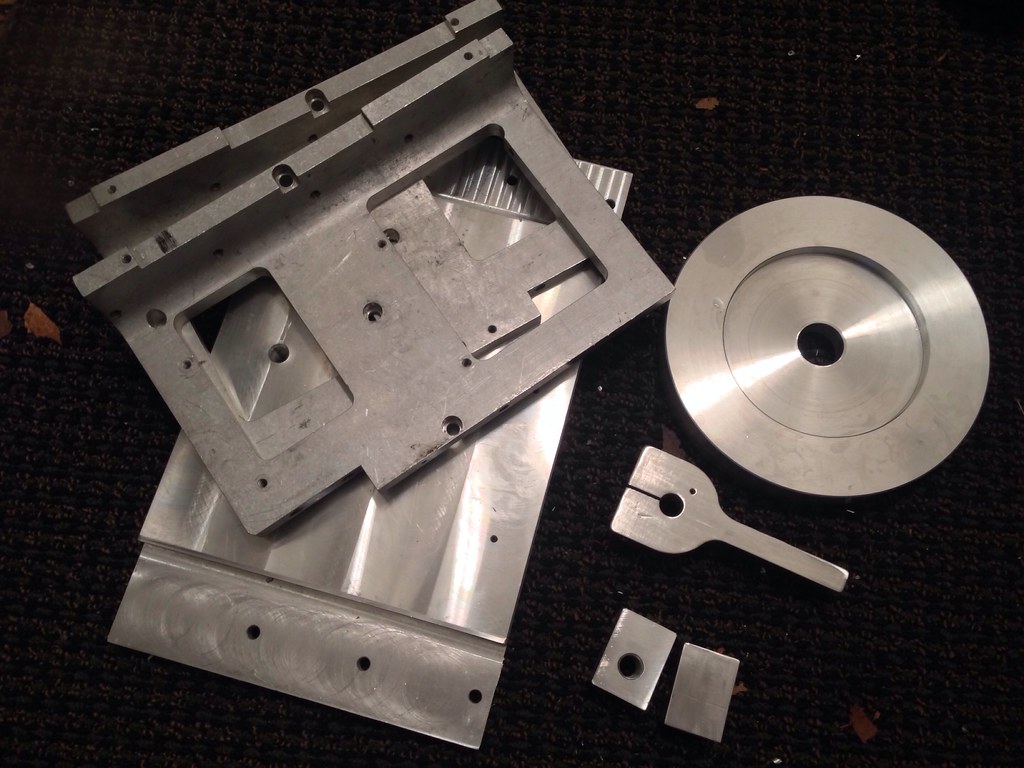
 Telescope mount parts by macona, on Flickr
 Telescope mount parts by macona, on Flickr
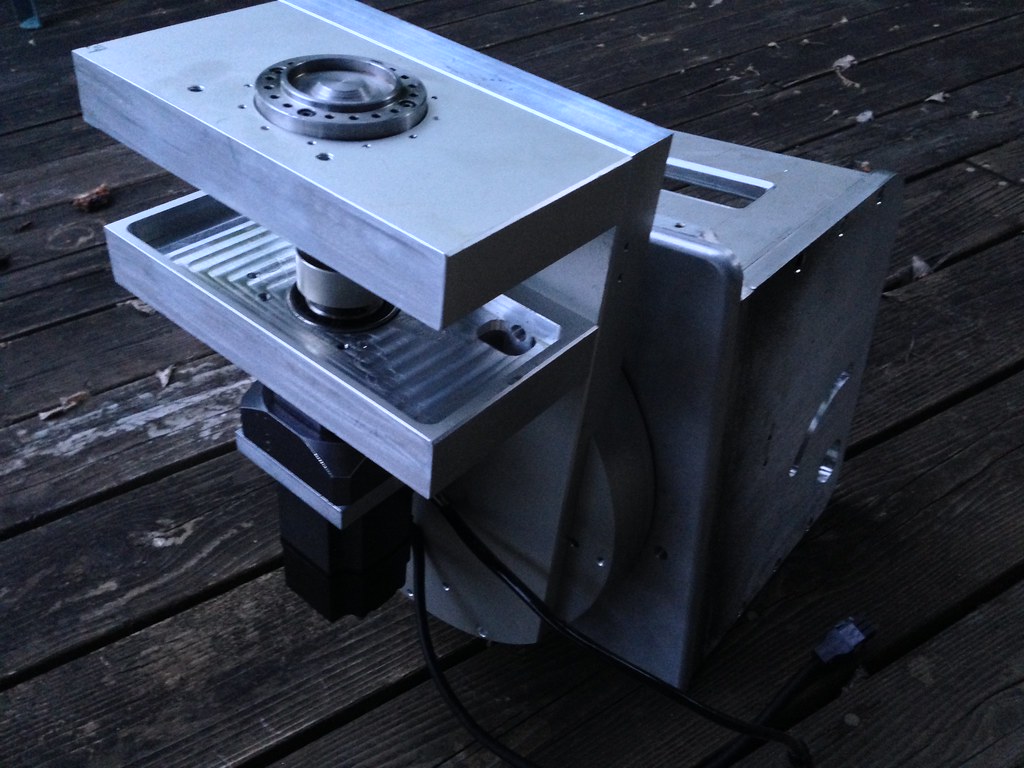 Telescope mount parts by macona, on Flickr